A Step-by-Step Guide for a Flawless Finish
Installing wallpaper can be tedious chore, but using these installation tips will be the key to transform the look and feel of a room, adding personality and charm. However, the process can seem intimidating for beginners. In this comprehensive guide, we’ll walk you through the step-by-step process of wallpaper installation, providing valuable tips and tricks to achieve a flawless finish that will make your walls the envy of all.
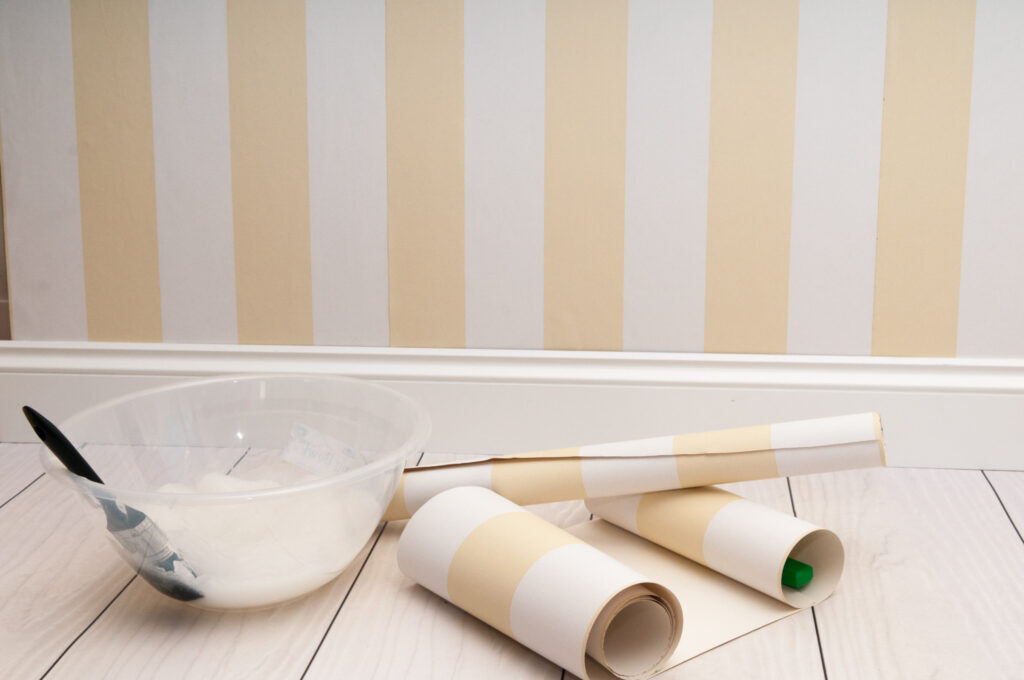
1.) Gather Your Materials for Wallpaper Installation:
Before you start, ensure you have all the necessary tools and materials at hand for your wallpaper installation:
- Wallpaper rolls
- Wallpaper paste/adhesive
- Measuring tape
- Utility knife/scissors
- Level
- Smoothing brush or squeegee
- Pencil
- Ruler or straight edge
- Drop cloth or plastic sheeting
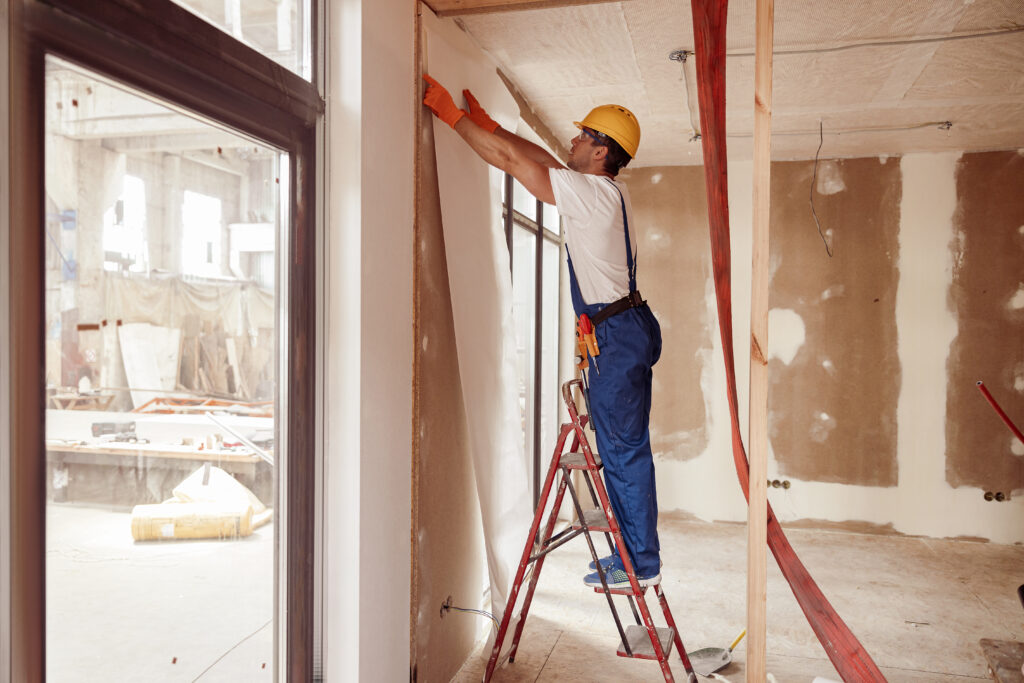
2.) Prepare the Wall for Installation:
- Remove any existing wallpaper or loose paint.
- Then, clean the wall surface thoroughly to remove dust and dirt. A smooth, clean surface ensures better adhesion.
- Be sure to fill any cracks or holes with spackle and sand the surface for a smooth finish.
3.) Measure and Cut the Wallpaper:
- To begin, measure the height of your wall and add a few extra inches to account for pattern matching and trimming.
- Using a straightedge and a pencil, mark the height of your wallpaper on the backside of the roll.
- Cut the wallpaper along the marked line, ensuring a straight edge.
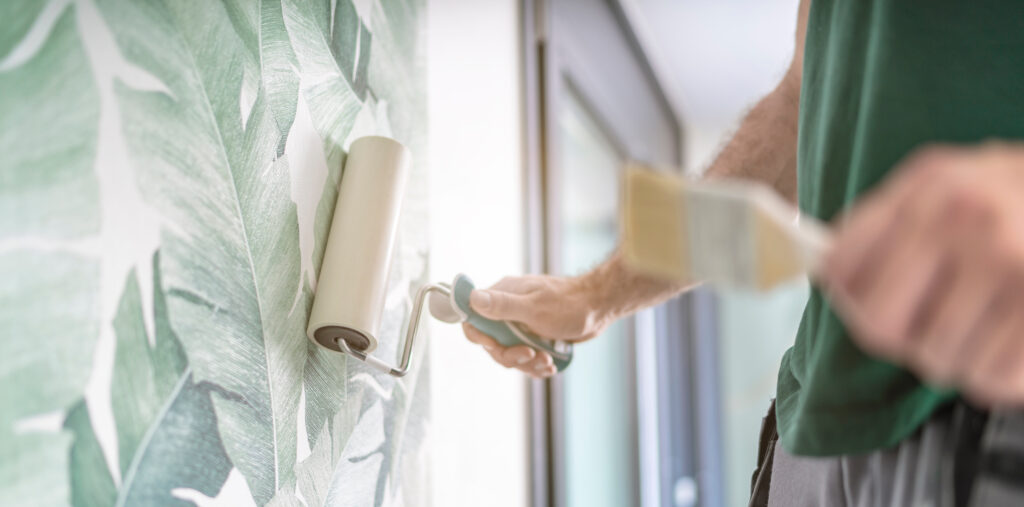
4.) Apply Adhesive:
- First and foremost, read the manufacturer’s instructions on your wallpaper adhesive/paste.
- Next, apply the adhesive to the backside of the wallpaper evenly, using a paint roller or a wallpaper brush.
- Be sure to cover the edges and corners thoroughly.
5.) Book the Wallpaper:
- Once the adhesive is applied, fold the wallpaper on itself in an accordion-like manner, with the adhesive sides facing each other. This process is known as “booking.”
- Allow the booked wallpaper to rest for the time specified by the adhesive manufacturer. This allows the adhesive to activate.
6.) Start Hanging:
- Carefully, align the top edge of the wallpaper with the top of the wall and use a level to ensure it’s straight.
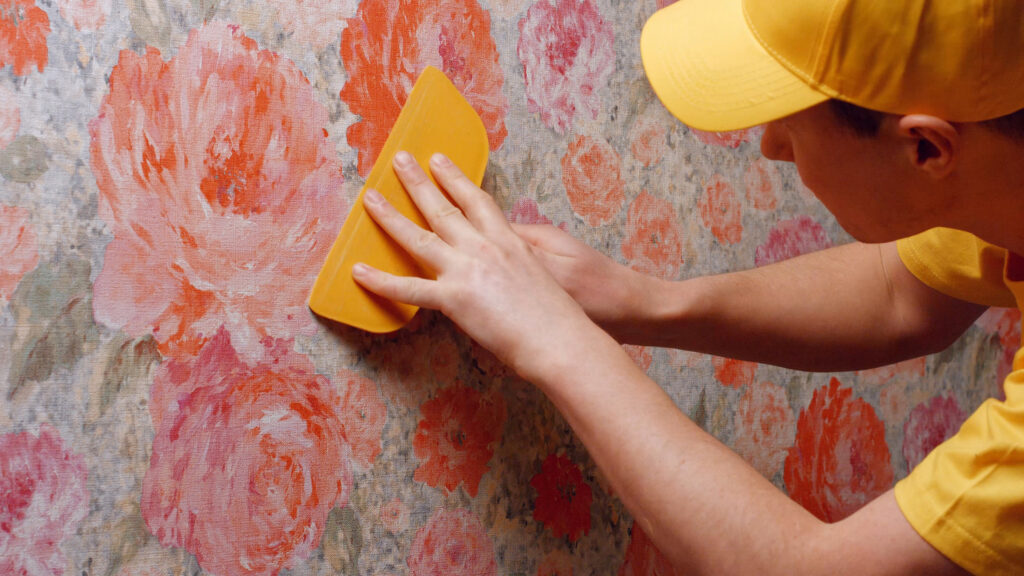
- Slowly unbook the wallpaper while gently pressing it onto the wall. Use a smoothing brush or squeegee to eliminate air bubbles and ensure a smooth application.
7.) Match Patterns:
- If your wallpaper has a pattern, make sure the patterns match up as you continue hanging each strip.
- Overlap the edges slightly to ensure a seamless pattern match.
8.) Trim Excess:
- Use a utility knife or scissors to trim excess wallpaper at the top and bottom edges.
- Be careful not to cut too close to the wall to avoid damaging the wallpaper or the wall itself.
9.) Repeat the Process:
- Continue hanging strips of wallpaper, matching patterns and ensuring a snug fit.
- Wipe off any excess adhesive with a damp sponge as you go along.
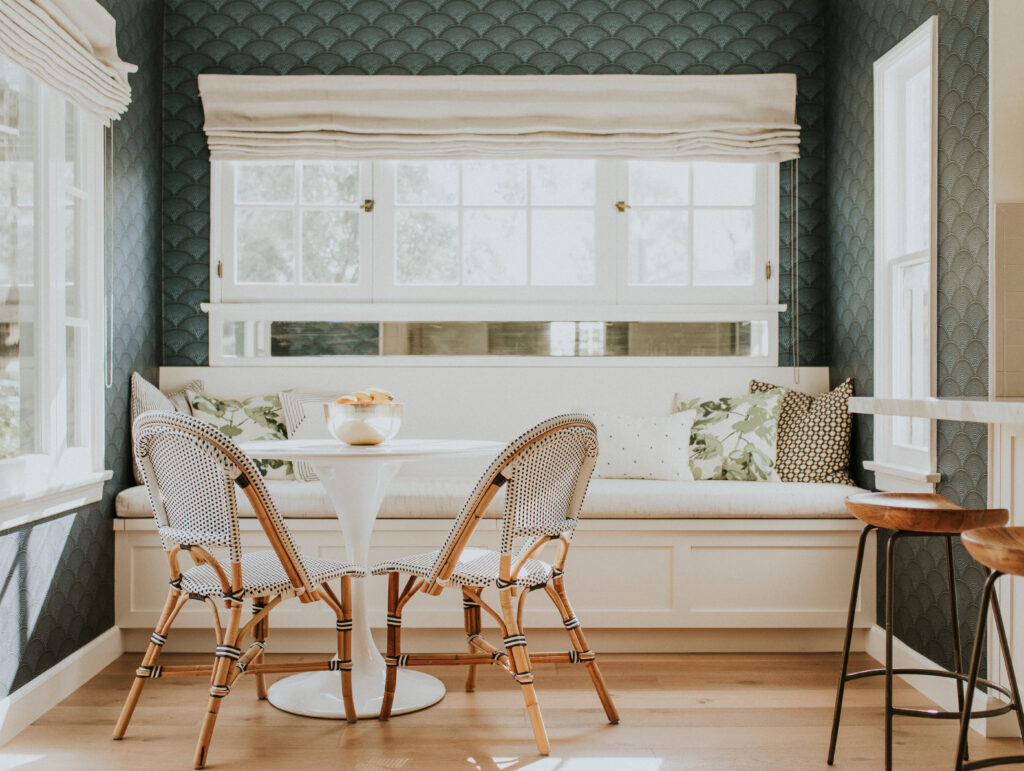
10.) Finishing Touches:
- As soon as all strips are hung and smoothed out, let the wallpaper dry according to the manufacturer’s instructions.
- Reattach switch plates, outlet covers, and any other fixtures you removed.
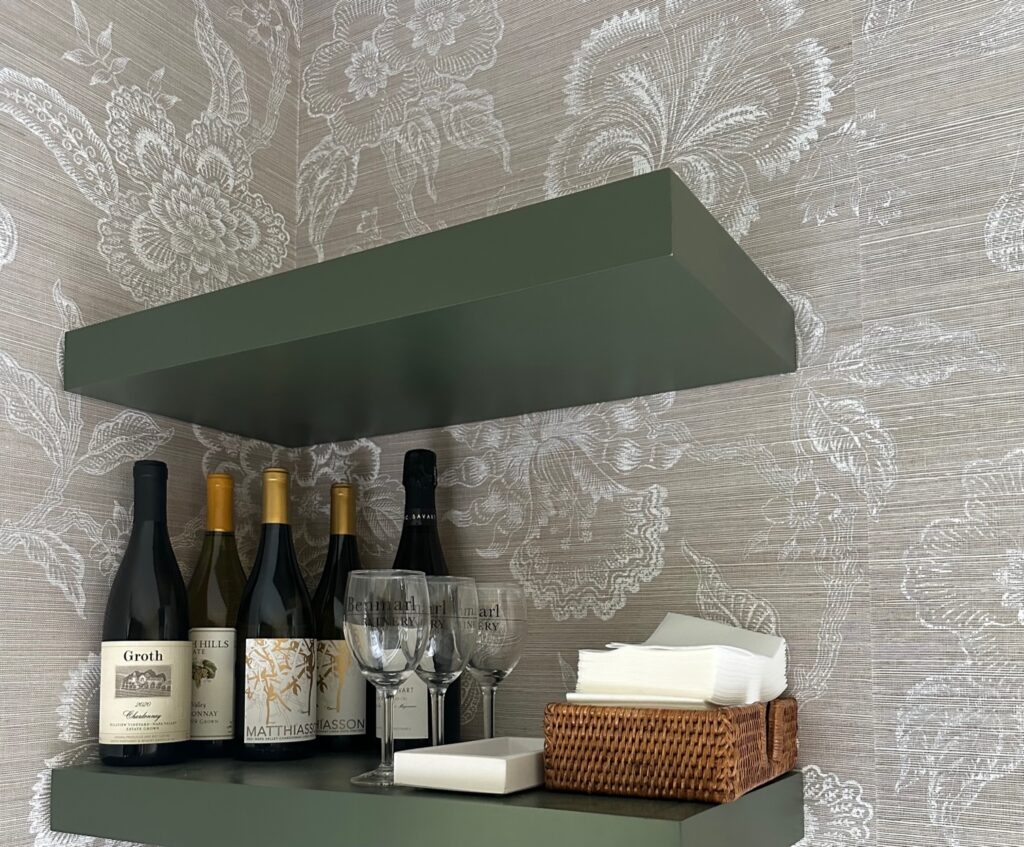
- Finally, step back and admire your beautifully wallpapered space!
With the right tools, patience, and attention to detail, wallpaper installation can be a rewarding DIY project. Follow these step-by-step wallpaper tips to achieve a flawless finish that will enhance the aesthetics of your room. Remember, practice makes perfect, so don’t be discouraged if your first remember, Jennifer Lynn Interiors is just a phone call away and we can help you with your wallpaper project!
